
My orange-colored culinary journey around the world continues! Last week, I detailed my attempts to make butternut squash soup and domoda. Now my cooking adventures take me from East Hampton and Africa all the way to Thailand as I deign to take on one of my favorite curry dishes: panang curry.
Sounds daunting. Will I be up for the challenge? The results after the jump…
Sometime back last summer, somebody sent me or posted a link to Thai Cooking Tonight, a nifty little website run by a mother and daughter who happily teach readers how to cook traditional Thai recipes. I personally love Thai food, and since coming across this site, I’ve wanted to make several of the dishes. Unfortunately, a lot of them call for very specialized ingredients â€â€Ã‚ galangal, lemongrass, curry paste  but luckily for me, I happen to live fairly close to Thai Town, a self-descriptive ethnic neighborhood here in Los Angeles. Yes, one of the best parts of living in LA is the accessibility of all sorts of ethnic cuisines (as exemplified by this blog whose Angeleno author ate a different world cuisine for a hundred days). Granted, it’s literally impossible to get apple cider out here (not to mention Dunkin’ Donuts), but I suppose those are negligible trade-offs for such a varied offering of other foods.
Anyway, being that I’m just a few miles from Thai Town, I decided to drop by the local Thai market and pick up some ingredients (I also dragged my friend IndianJones along for the adventure, which he hated because of the abundance of seafood odors in the store. Luckily, he was somewhat content because we had stopped off at the Indian grocer just prior â€â€Ã‚ more on that in another post…). My chosen dish to cook up was panang beef curry â€â€Ã‚ a favorite of mine  so I procured some panang curry paste (at a whopping $.79 per packet) as well as various other items and then it was time to cook…

First: a small army of ramekins besiege my workplace. In them are peanut butter, sugar, and fish sauce.
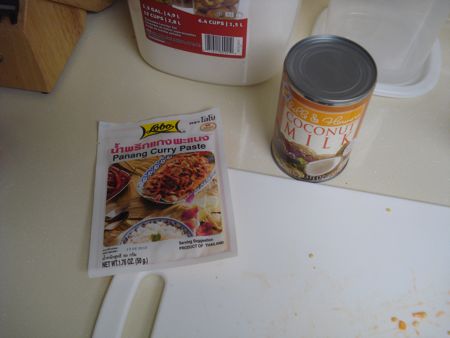
More ingredients: curry paste and coconut milk. I used light coconut milk, and it was fine.
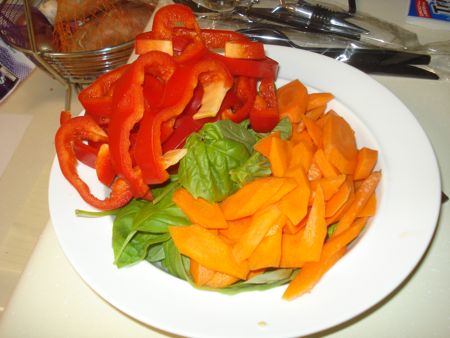
Well look at how colorful my veggies are. A veritable cornucopia of red peppers, basil leaves, and carrots.
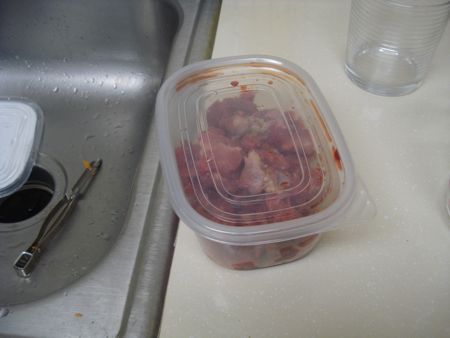
My leftover, unused stewing meat from the African dish, and in the background â€â€Ã‚ an errant peeler still clinging to a lonesome wisp of carrot.
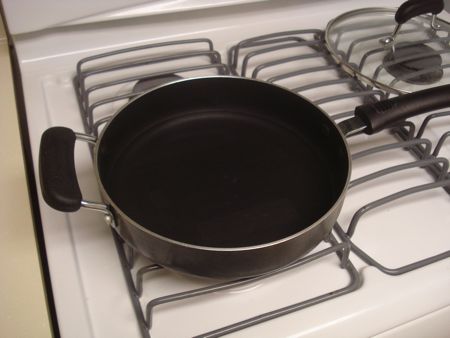
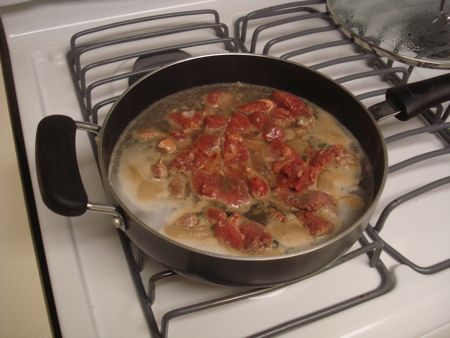
First, I boil some water in which to cook the meat.
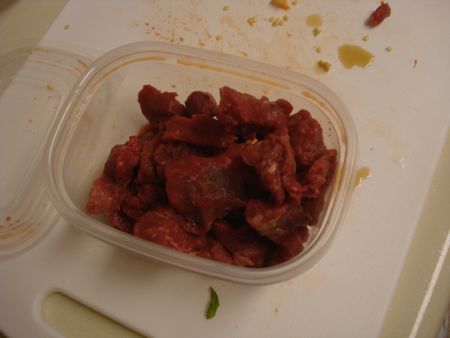
The beef has been unsheathed.
So here’s the first big note: I used this leftover stewing beef because it was, well, leftover. It’s best not to use this cut, however, as the thick chunks tended to get too chewy with the boiling. Ultimately, they weren’t necessary bad, but thinly sliced beef would be a better choice.

Here’s what the panang curry paste looks like. It’s about three tablespoons worth.
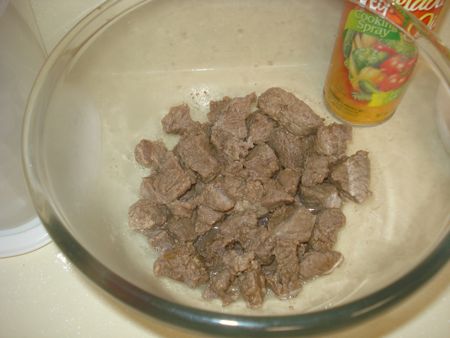
The beef, boiled.
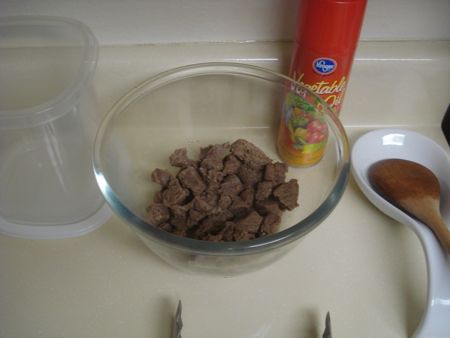
I don’t know why I took two pictures of this, but well, I did.
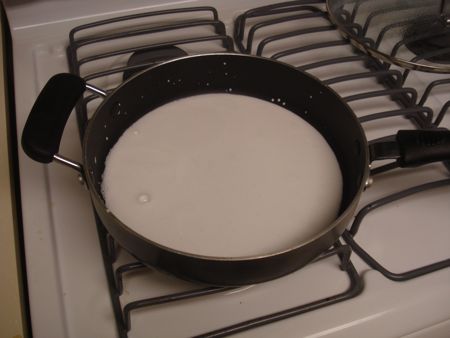
Next, I heat half a can of coconut milk until it juuust starts to bubble, as evidenced by this picture.
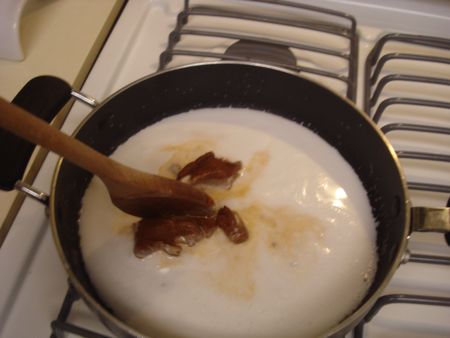
With the coconut milk heated, I stir in the curry paste.
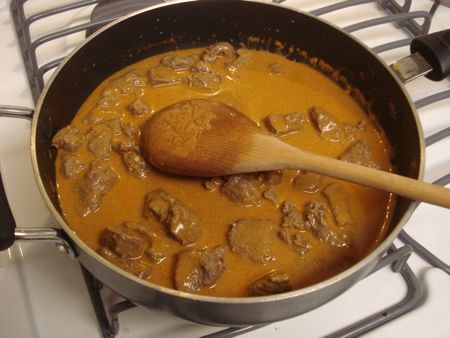
Next, I add some fish sauce and then my meat. Stirring and coating ensue.
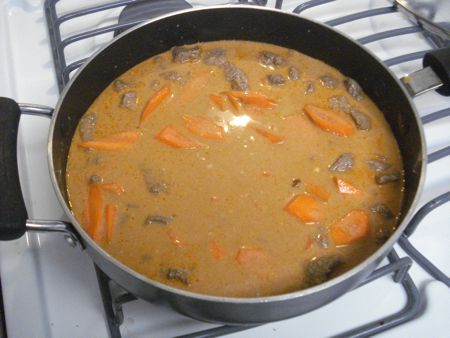
I add a little more coconut milk, some water, and then the carrots.
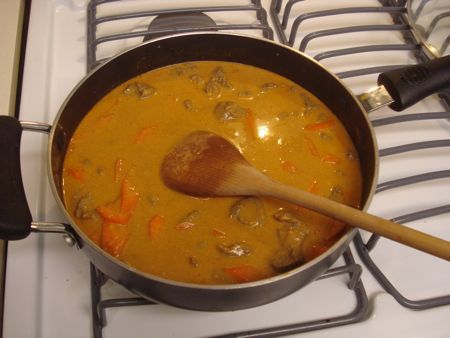
About eight or ten minutes later, the carrots are tender; so it’s time to add more stuff: sugar and peanut butter.
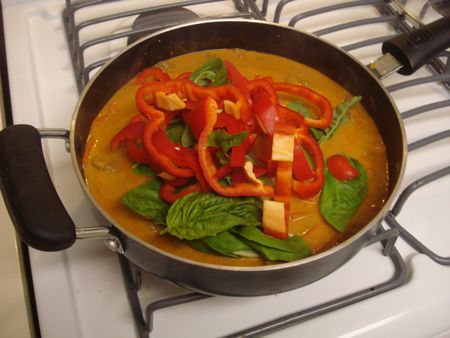
And in go the peppers and basil. Gotta admit, those colors are awesome.
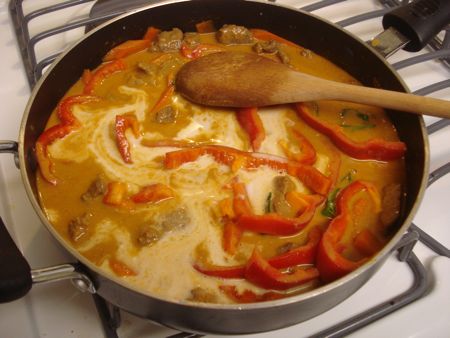
And now the last of the coconut milk.
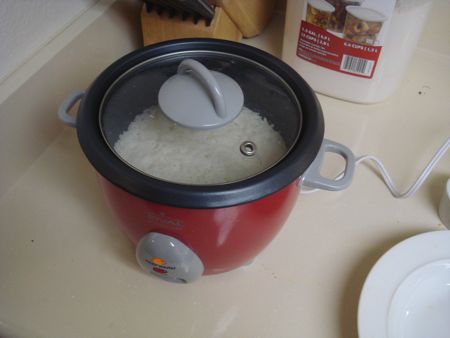
Meanwhile, I whip up some jasmine rice in my trusty rice cooker. Best kitchen appliance EVER.
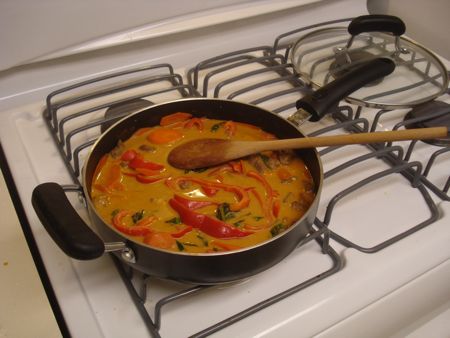
And at last, the curry is done.
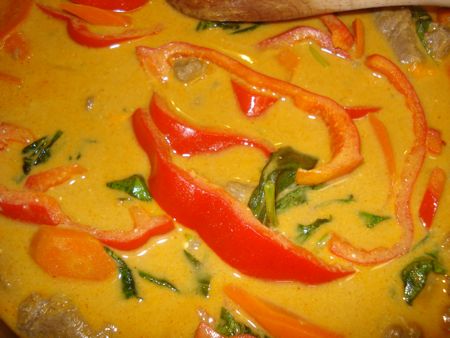
Macro shot for Jash.
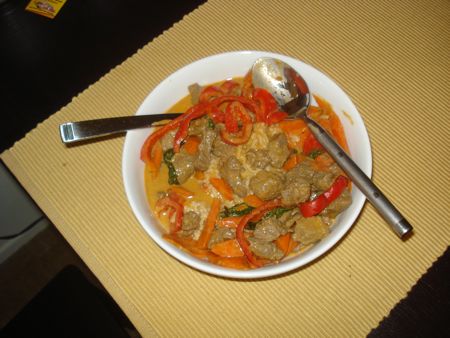
Curry is served.
The Verdict: really, really good, especially for the first time. The dish was super flavorful, and almost tasted just like the restaurants. However, there were three minor problems. First, the beef issues, which I already discussed. Second, the curry was slightly thinner than I had expected, but that wasn’t really a big deal at all. And third, it was a bit too salty.
However, I cooked up the dish again this week, and this time, I made some modifications, and it turned out excellently. Here’s what I did:
1) I actually didn’t use beef at all. I used the Trader Joe’s fake stir fry chicken strips. You know, the tofu stuff that comes in the green box. What was great was that I didn’t have to cook anything â€â€Ã‚ I could just toss the stuff into the curry paste and coconut milk. But more importantly, its texture complemented the the curry much better. It also took to the sauce very well â€â€Ã‚ as tofu is wont to do. Oh, and less cholesterol; so that’s always good.
2) I added kaffir lime leaves. The recipe actually called for this, but I didn’t have them the first time. The curry is absolutely fine without them, but the leaves certainly do bring an extra welcomed dimension. If you have them, use them.
3) I cut down on salty ingredients. First off, by using tofu, I already reduced some saltiness because I had to salt the beef, per the recipe’s instructions (if I use beef again, I might not salt it). Second, I reduced the amount of fish sauce in the recipe. Third, I used a less salty peanut butter too. The result  a far better level of saltiness; although, I still might reduce the fish sauce even more in future preparations. Original recipe calls for four tablespoons. I might add two and then increase to taste.
4) I eyeballed the usage of water a bit more. After adding the protein to the curry, the original recipe instructs you to add a quarter can of coconut milk and about a cup of water, which is what I did. The result was that I put in too much water for my liking. The second time, however, I added only as much water as I felt was necessary to get to the consistency that I wanted. Yes, I know this is what I should have done originally, but I don’t have an innate cooking sense; so I tend to bungle these sorts of things. The point is, even though the recipe calls for specific amounts of water to be added, I found that it’s best to just eyeball the water as you go along, especially when working with light coconut milk, which I imagine is more watery than regular.
Now, for those of you looking for the recipe, click here. It’s really easy, and honestly, the second time I made it; I only spent about fifteen minutes at the stove total. It could be less if you omit the carrots.