This past Friday, while the rest of America was fighting over $2 waffle irons at Wal-Mart, my friend Esi (of Dishing Up Delights), Esi’s sister, and I went hiking instead. The three of us trekked up to the world famous Hollywood sign at sunset, which was kind of like the most spectacular thing ever, but of course it took three hours, and by the time it was done, we were cold and hungry. All we wanted was something warm and comforting, and as a result, we eventually found ourselves huddled around a big, steaming pizza at Vito’s Pizza, which continues to rank as one of my favorite It’s-Cold-Outside-And-I-Need-Happiness joints. This was all well and good, but what of dessert? Esi and I had been aching to cook together for a few months, and this was the perfect opportunity: we decided to make something warm and tasty but also totally new to both of us. We ultimately decided on that most esteemed of culinary challenges: the soufflé!
Being that we’re both Ina Garten fiends, Esi and I immediately scoured the internet for a Barefoot Contessa soufflé recipe, but all we could find were savory offerings. Luckily, it was Martha Stewart to the rescue with her chocolate soufflé recipe. It seemed easy enough, but soufflé’s are notoriously tricky. Would we succeed at the task, or would we find ourselves deflated like a sad soufflé?
Results after the jump…
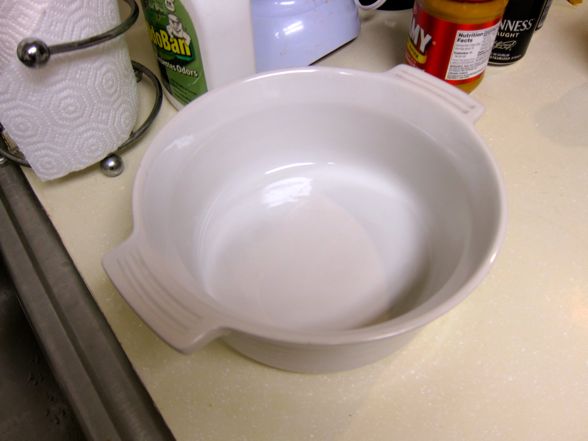
We start with a casserole dish. Ideally, we would use a soufflé dish, whose straight, vertical edges are essential to that classic puffed shape. However, I have no soufflé dishes; so this will have to do.

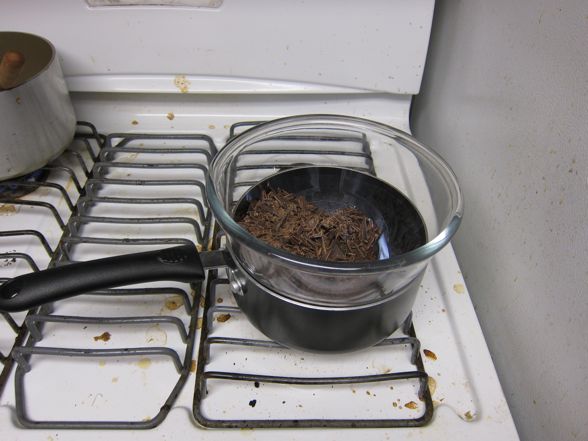
The bowl setup. A word of warning: my stovetop was a mess when I took these pics. Fear not: it has since been cleaned and is now immaculate.
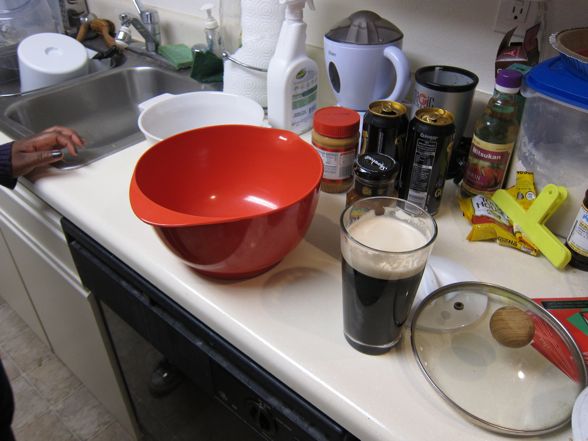
More bowls and, of course, some beer to keep things interesting.
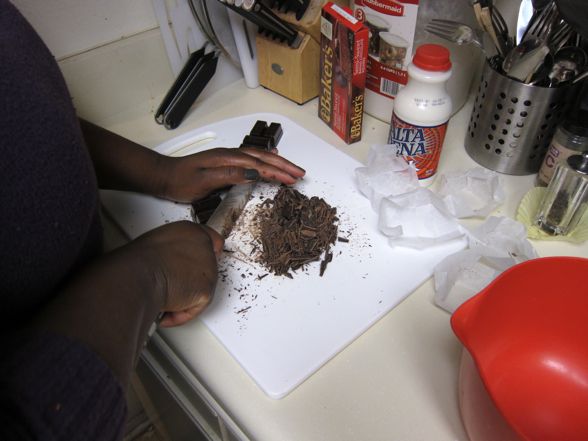
Esi gets to work choppin’ chocolate. Five ounces, to be specific.
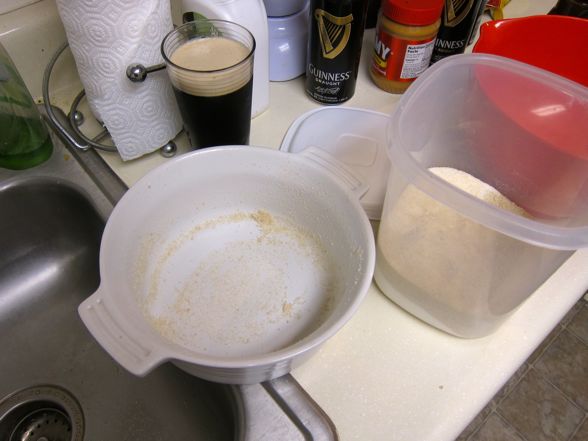
I butter the dish and coat with sugar. I’m supposed to use superfine sugar, but I just use this crappy organic sugar that I bought at Trader Joe’s (it’s their only option — shameful).
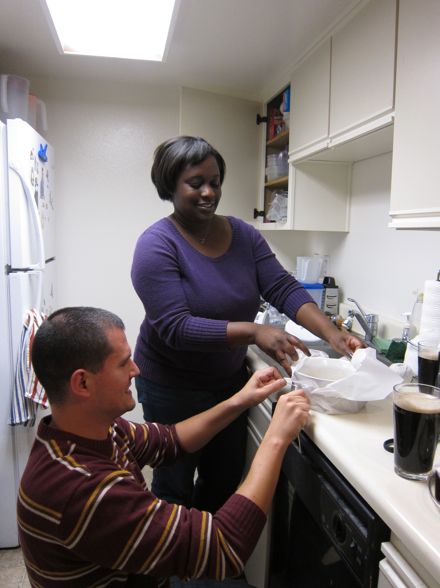
The recipe has us buttering and sugaring a piece of parchment paper and then tying it around the dish like a “collar.” Clearly, this is a two-person job.
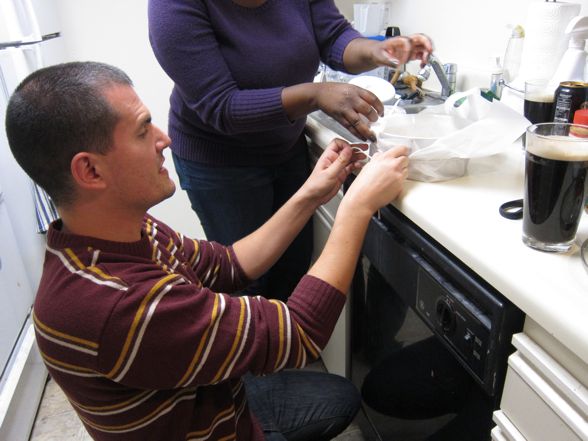
It’s way more difficult than it looks.
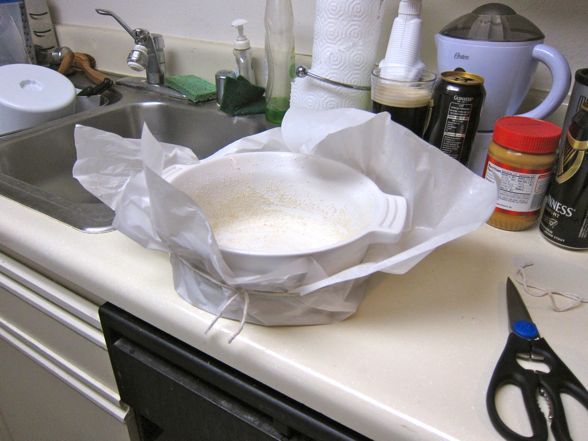
In the end, we succeed. Now our dish looks like it’s been assailed by a low-rent Project Runway wannabe.
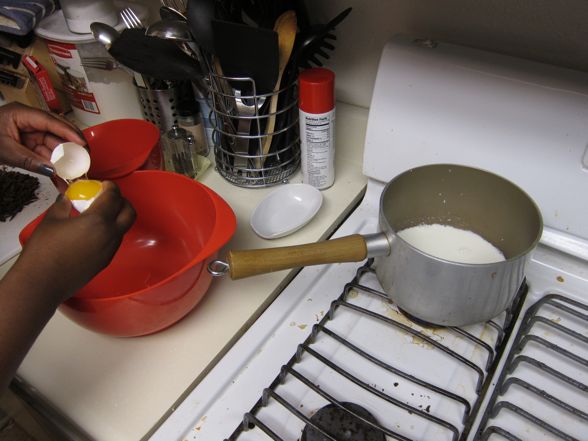
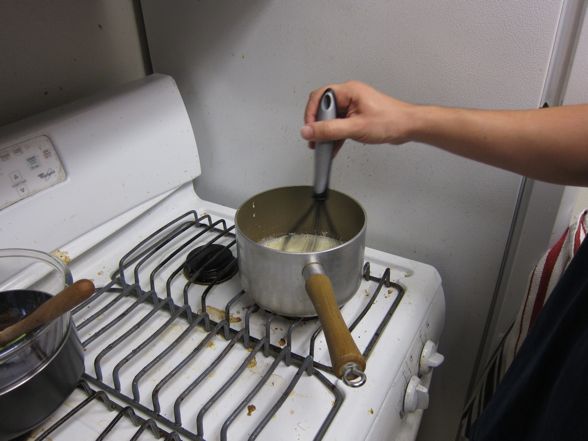
In the saucepan, we gently warm some whole milk. Martha tells us to SCALD it. Esi, meanwhile, separates eggs. We’ll need five whites and three yolks. The two leftover yolks wind up in a ziplock bag that goes in the trash. More on that later…
Melting chocolate. Snooze.
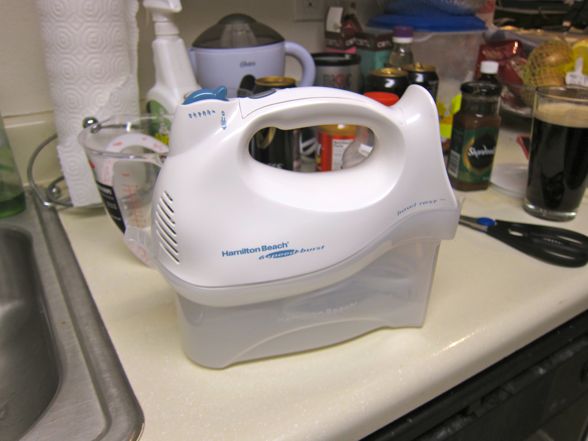
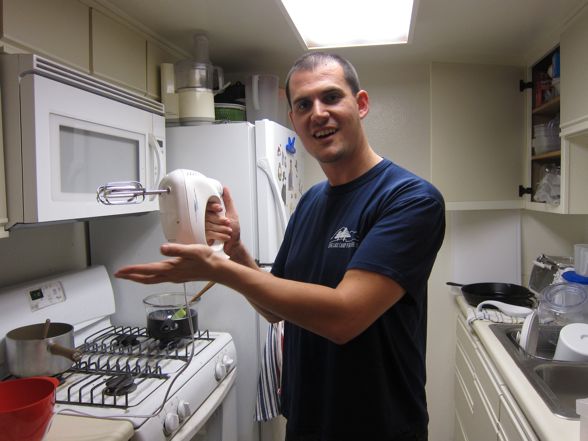
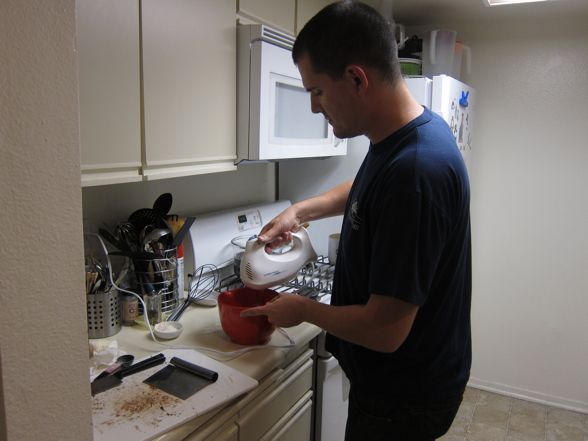
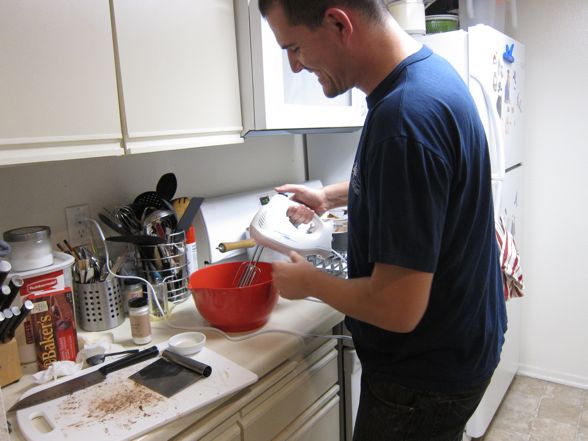
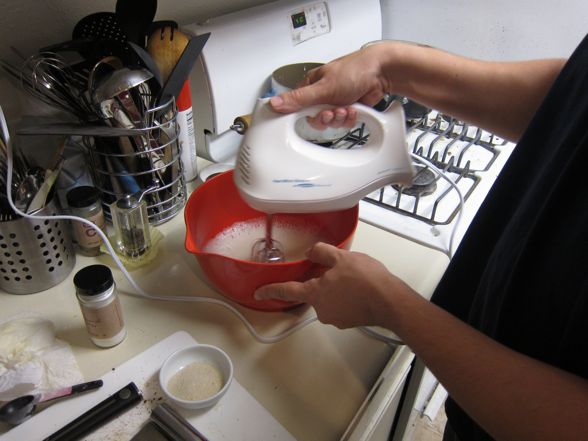
Brr-brr-BRRR (that was my hand bugle). Here’s my new hand mixer, which had to be purchased after my craptastic, $7 ChefMate version flunked out on me the day before. I knew the day would inevitably come, especially because every time I turned on the ChefMate mixer, I felt like the damn thing was going to explode in my hands. Nevertheless, this recipe would be the debut of this new item. Very excited.

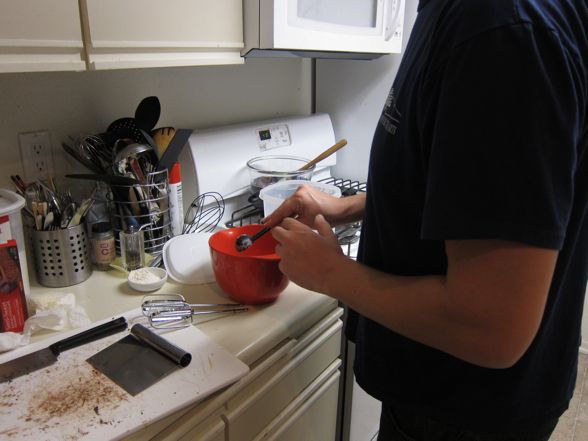
Time to beat the yolks with four tablespoons of (that awful) sugar. Three tablespoons of flour will join the mix and then finally half of the scalded milk.

SCALDING milk. For the life of me, I don’t know why there’s such a mess on that burner given that I rarely use it. Huh.
Quick chocolate update: it’s still melting.
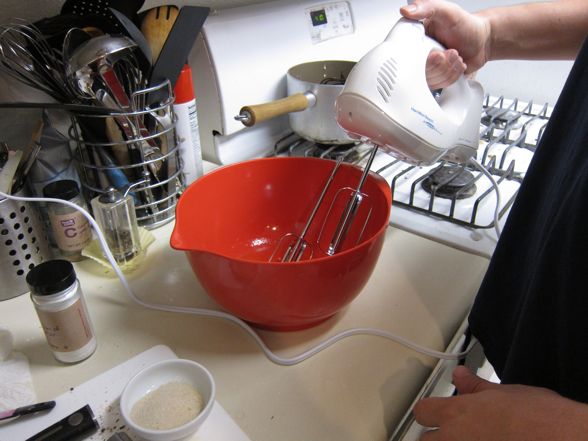
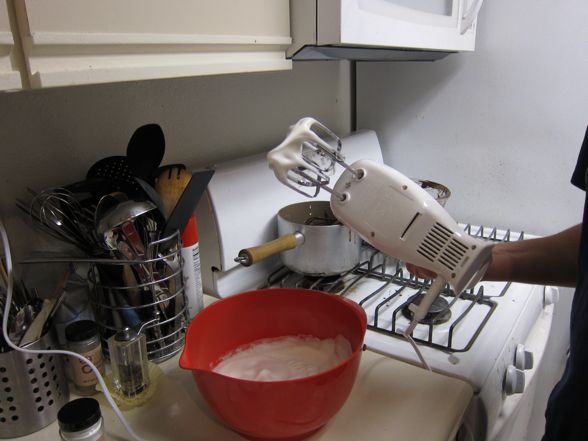
The mixer is ready.
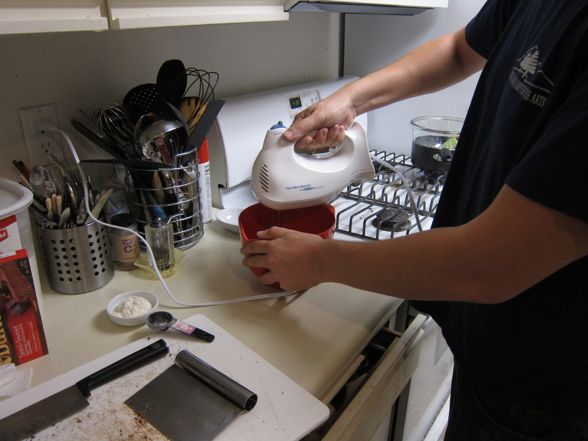
Oooh, such power! And 100% less rickety! I think the extra $15 I spent on this model was well-worth it…
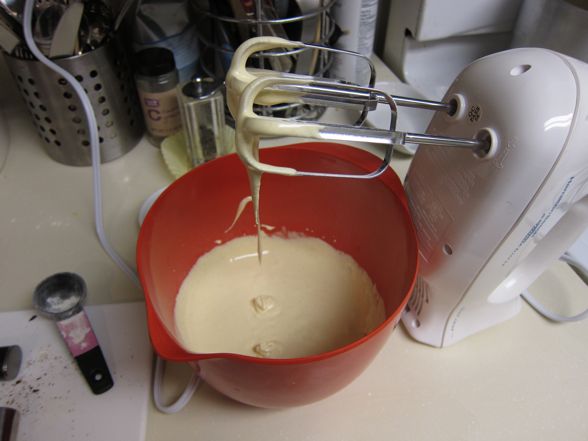
Post-whisking. It looks kind of like pancake batter.
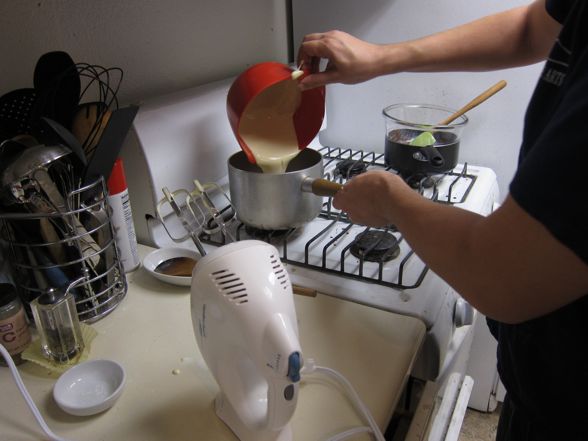
At this point, we’ve whisked in the scalding milk slowly and are now returning the mixture to the saucepan with the rest of the hot milk. We’re to bring it all to a boil and then simmer for two minutes…
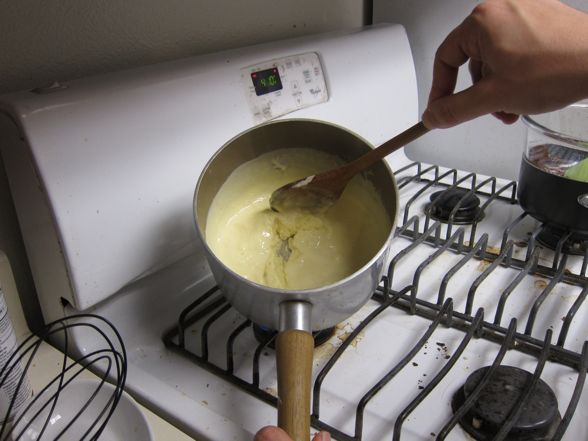
DANGER: something seems not right!

CURDLESASTER!!!!!!!
Ina Garten always warns of accidentally making scrambled eggs, usually with the rhetorical question: “Who wants that? Blech!” Since we had in fact found ourselves with scrambled eggs, I took it upon myself to try them, and I have to admit, they were kind of super tasty. They didn’t taste like eggs. They tasted like lumpy custard. Don’t hate it until you try it. Either way though, we tossed the whole thing in the trash.
The problem, you see, is that we naturally assumed that the scalded milk should be very hot. This, however, was too intense for our poor, eggy batter. Luckily we had enough ingredients to start over. We reheated more whole milk and got to work beating the egg yolks and sugar and flour again. This time, however, I decided to rely on my standard custard-making instincts (which have been nicely honed thanks to my frequent forays into ice cream making). We would not scald the milk but merely warm it. Hopefully this would do the trick…
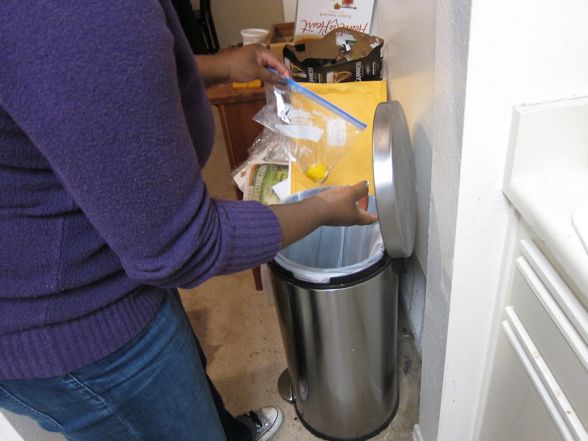
Hey, remember those two egg yolks we put in a ziplock bag? Well, they’re baaaaaack. Here’s Esi plucking them from the trash. A charming twist.
Back to the drawing board.
We stay calm and collected. Esi’s sister, who was patiently watching TV and waiting for the soufflé, must have been livid at our ineptitude.
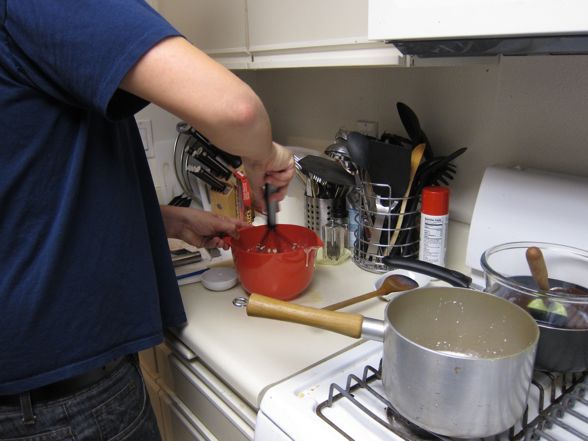
Tempering the egg mixture, this time with an old-fashioned whisk.
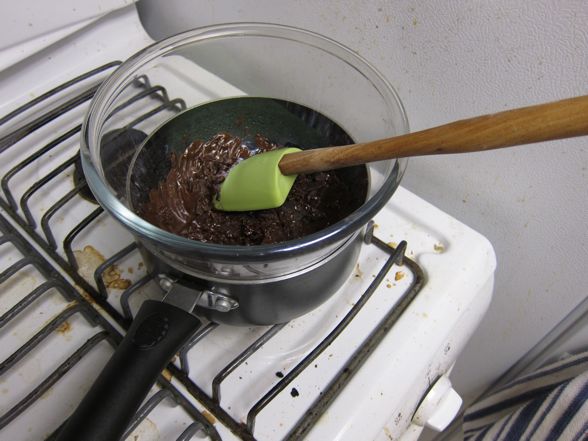
So far, this approach has been much more successful. Not a curd in sight! Also, the chocolate has fully melted.
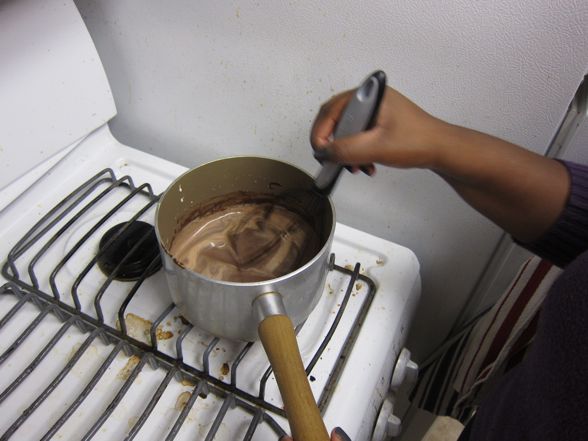
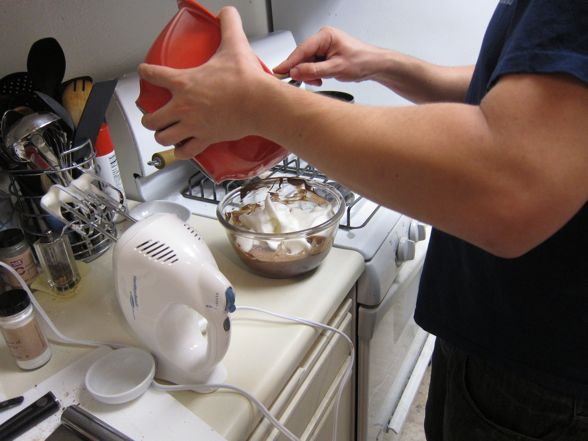
Once the custard comes to a boil and simmers for a few minutes, we add the chocolate. Things are looking good.
Next, it’s time to whip up some egg whites.
Every chef’s NIGHTMARE: when a whisk attachment falls out. So very alarming.
On the road to stiff peaks (thanks to some cream of tartar and (that awful Trader Joe’s) sugar.
Stiff enough.

First we take a scoop of the stuff and whisk it into the batter. I know, I know — this totally deflates the whites. Well, just DEAL with it. This is what Martha tells us to do.
Next, we’re to fold the whites into the chocolate batter. I use classic French technique, as taught to me by Ina.
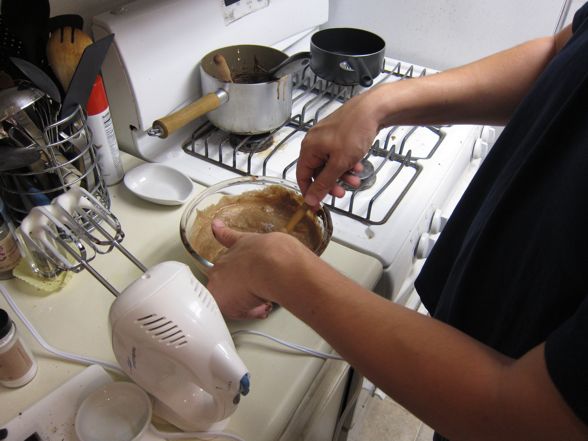
Folding like a BOSS.
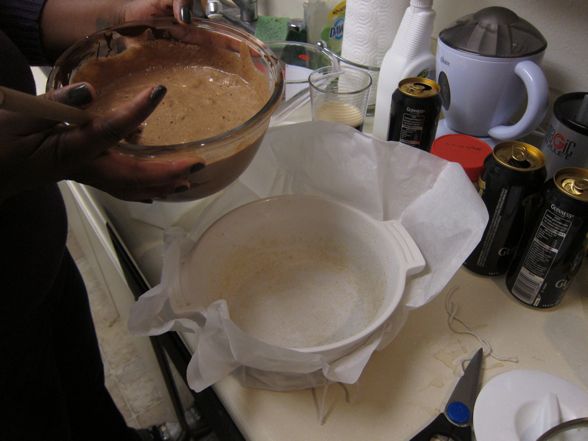
Time to transfer the batter into our couture dish, which has been chilling in the fridge, I should note.
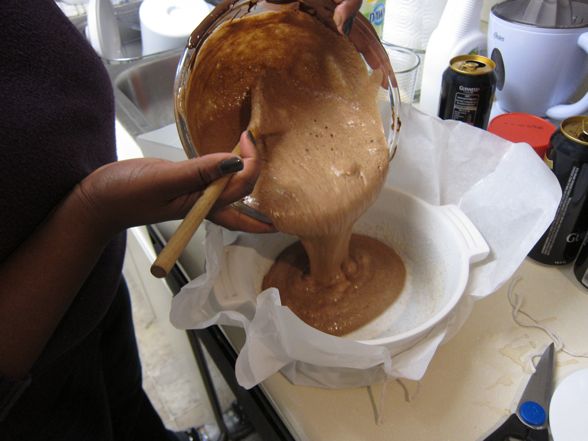
Just look at that light, airy mess. You know, as decadent desserts go, this isn’t the worrrrst. There are only three eggs (and a few whites — about as much as in an omelette), and it uses whole milk. It’s not guilt-free, but it’s certainly healthier than most ice creams by far.
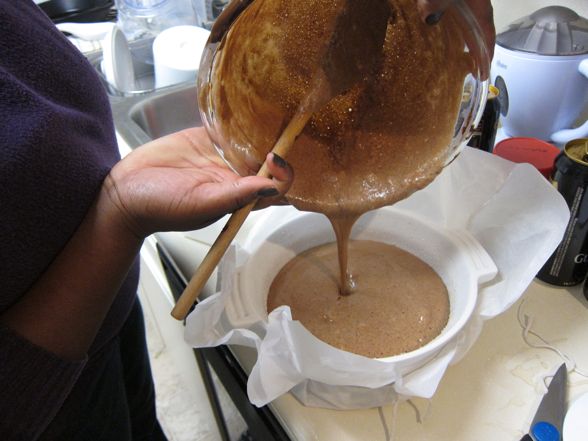
And we’re pretty much done here.
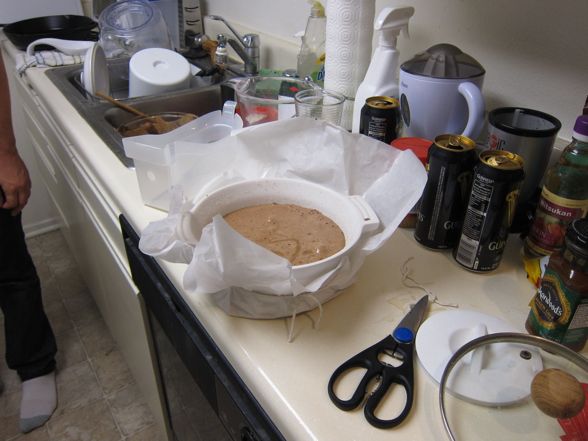
Check out that sexy soufflé dish.
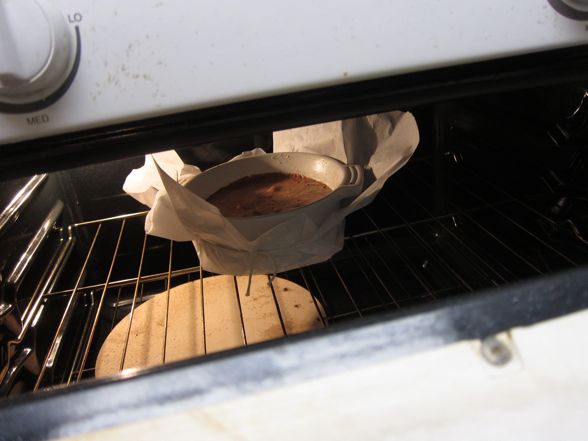
Into the oven it goes. Fifteen minutes at 400 degrees; fifteen at 375. Oh, and check out my pizza stone. Cool, huh?
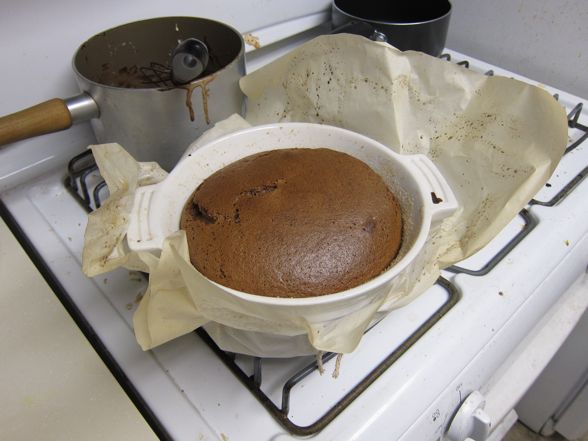
The final product. Looks pretty good!
The soufflé doesn’t have that tall, cylindrical look, but I assume that’s mostly due to the dish, whose walls arch outwards. Nevertheless, it’s still risen, and I’m happy with that.

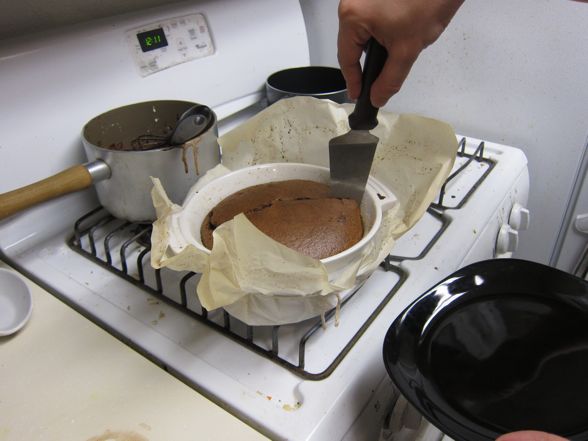
The first slice…
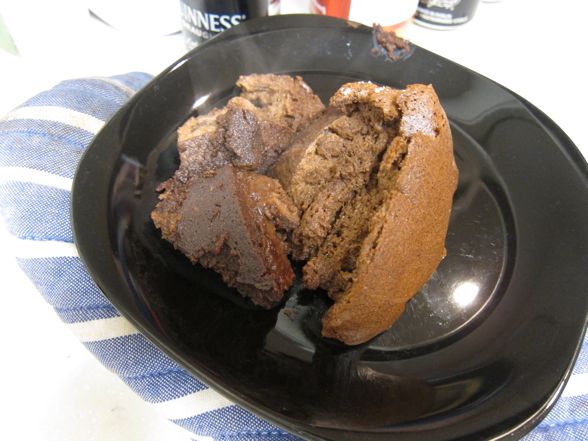
It’s steaming hot. We don’t even bother dusting with confectioners sugar. We just go in for the kill.
The verdict: very good! The soufflé was light and chocolatey without being too rich. I particularly liked the lower, darker layers which had a more deeply chocolately flavor. I’m not sure this recipe blew my mind, but as a fun thing to throw together (especially something that didn’t require too many ingredients), I thought it was just delightful. Plus, in the following days, while the soufflé inevitably deflated, it took on the texture of a lovely chocolate cake. I might serve this with a dollop of vanilla ice cream (of which I had none, sadly).
Check out the full recipe here and see how it works for you. Remember, don’t make the milk too hot. Oh, and I’m not sure you need the collar. While it looks very fashion-forward, we didn’t really see what purpose it served.
Have you ever made a soufflé? Have any standout recipes?
Yum! Souffle really isn’t as challenging a dish to prepare as people make it out to be. Simple ingredients and not too many steps make it a great go-to for entertaining.
I have to admit, though, I laughed when I saw your collar. You were foiled by your slope-sided dish, certainly, so in your case it was completely useless. I think Martha is also to blame, though, because Julia taught me to put the collar INSIDE of the cooking vessel (like this, but with parchment instead of foil: http://www.intriguerie.com/.a/6a0133f5c85e58970b014e86a4593b970d-pi). It’s easier, uses less parchment, and works to boot. Try that next time.
Ahhh… so THAT’s what the collar was for. Okay, we definitely had a massive collar FAIL.
As far as good souffle recipes, when I was a teenager there was a Bon Appetit recipe I used to make for a chocolate souffle with a coffee caramel creme anglaise. It was delicious. I can’t find the recipe but I did find this and it looks similar and amazing: http://www.epicurious.com/recipes/food/views/Dark-Chocolate-Souffles-with-Cardamom-Creme-Anglaise-233942
Another of my favorite souffle recipes is a Grand Marnier souffle. My favorite comes from an old cookbook called the Chef Gregory Cookbook but that’s out of print and hard to find. I think if you do a quick Epicurious search you’ll find some good candidates there.
Finally, I recommend that you try making (Ina’s or someone else’s) recipe for a savory souffle…especially a cheese souffle. They are amazing and also very easy. Impressive when made for company.
It was very good and fun to finally cook with you!
I’m glad Rach explained it, because I couldn’t figure out for the life of me why you would have to butter or sugar a piece of parchment paper that is stuck on the OUTSIDE of the dish.
By the way, if you have a mezzaluna, it makes quick work of chopping chocolate bars.
Little baking tip…no superfine sugar? Dump some regular sugar in your Magic Bullet and use 10 second pulses until you get the fine consistency you want. Saved my butt when I ran out of sugar for my icings.